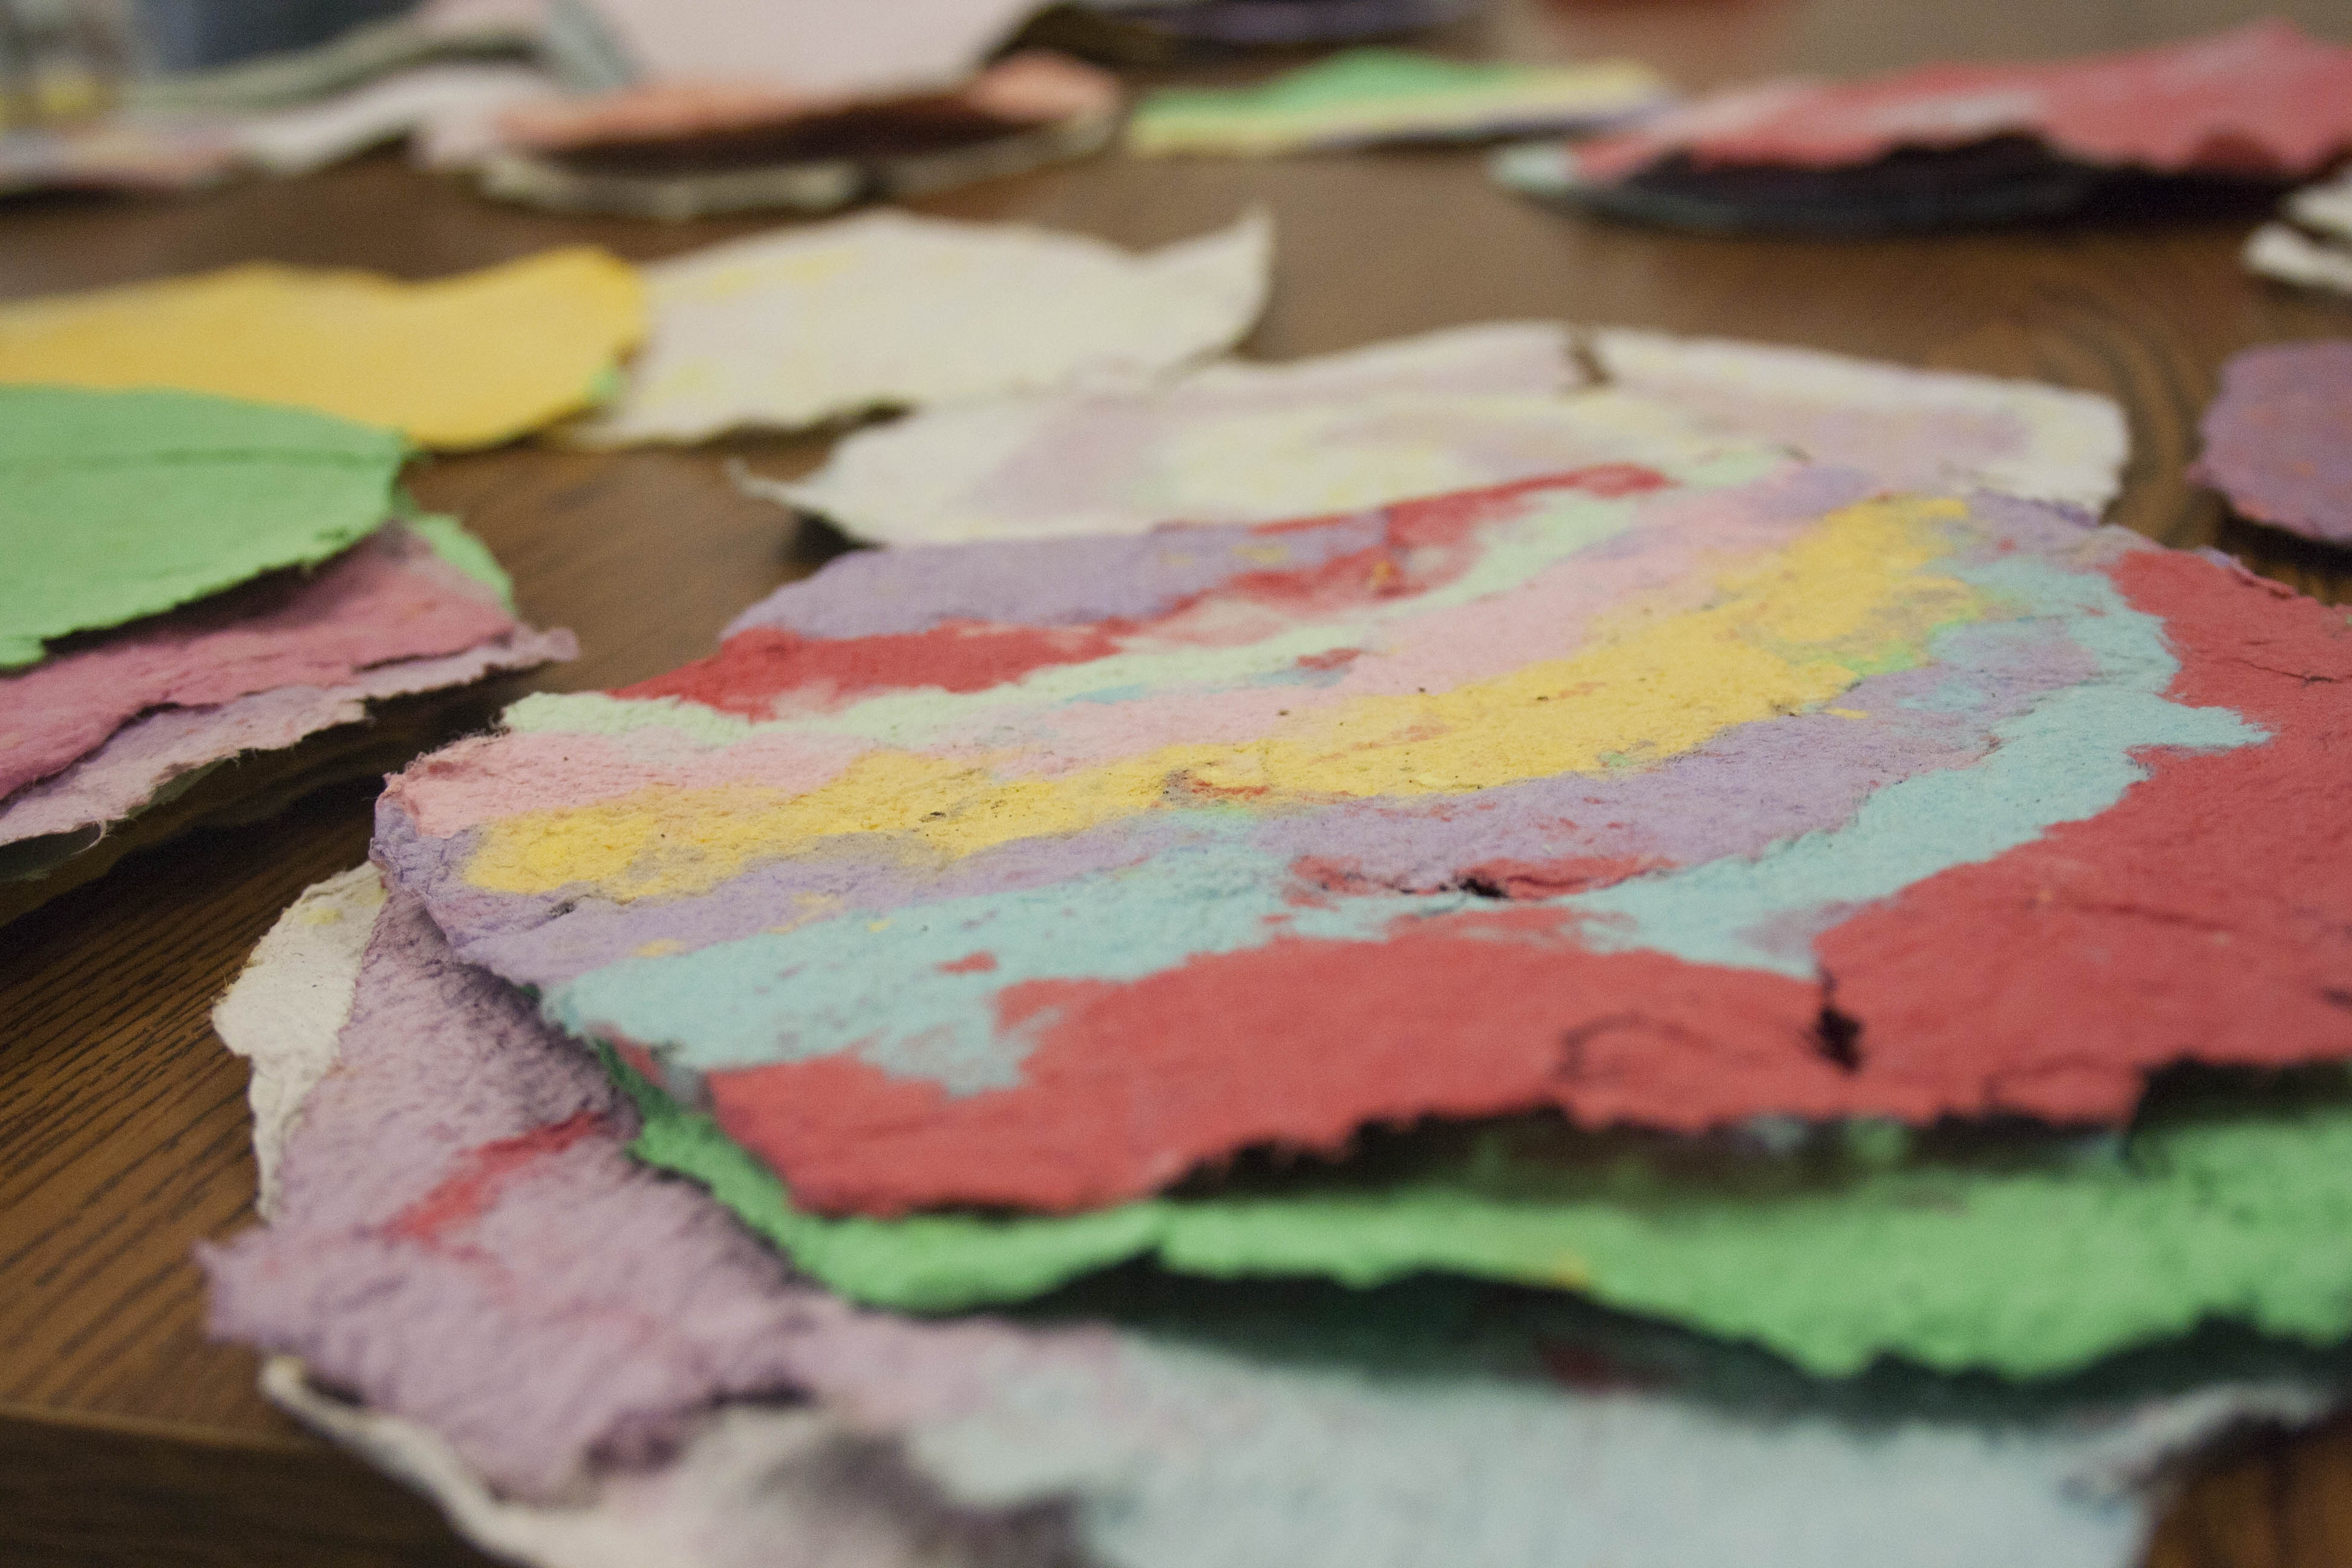
To launch this project you really want to start at the base and work your way up. So, you'll need to make your own paper. Oh, don't groan like that, this is actually a fun process and since paper is so versatile you can make whole sections of your journal different. Just trust me on this one: it involves sparkles and dye.

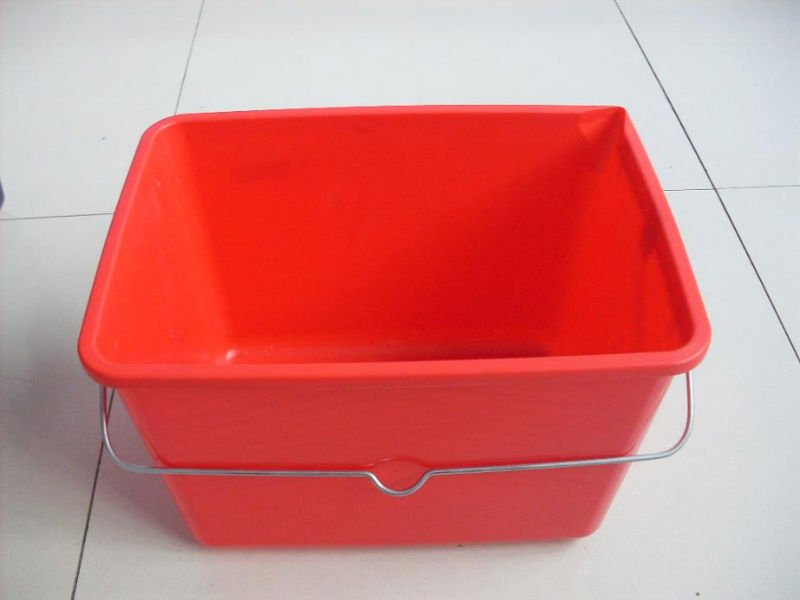 To make pulp you'll need a few items: a window screen, newspapers or advertisements, a square bucket and long spoon for mashing pulp and access to water.
The size of the screen depends on what size you want to make your journal pages. Remember, each screen will make one double page, so really half of the screen will your journal page size, minus an inch or so you may have to trim off the uneven edges.

You will want about 1 newspaper per 3 square feet (1 meter) of window screen. Keep in mind that newspaper is very thin and will break down quite a bit.
Begin making pulp by shredding your paper. Cut up your newspapers into at least 1/2 x 1/2 in (1x1 cm), otherwise you will be mashing pulp forever. The smaller pieces you cut, the thinner your paper sheet will turn out. Larger strips won't break down as well and you'll end up with very pulpy mash which won't spread over the screen very well.

Place your paper pieces of paper in the bucket and add water. Fill the bucket so that the water just covers your paper strips and begin mashing. Note: filling your bucket up any higher than 1/2 gets dangerous and you end up sloshing out the bucket, onto you and into your eyes.
I added the long spoon for mashing because some people have not enjoyed the mashing process by hand. Mashing by hand is actually the most effective because you can use your fingers to pull the paper apart. Although, lately I have found that the dyes in newspaper are staining my hands. Note: If you want very thin paper, just go ahead and throw it in the blender for a spin. I hate cleaning my blender after that though, personally.
I recommend this same project but with construction paper for children. The construction paper comes apart easily and the kids can use their hands to mash while parents don't have to worry about hand, arm and clothing stains.

Take large clumps of mash and spoon them over the screen, spreading evenly - similar to frosting a cake or spreading wax on a car. Press the excess water out of the mash on the screen gently and leave to dry in a well ventilated and sunny area. I leave mine out in the backyard to dry while the sun is out. Once the paper is dry it will begin to peel from the screen.
No comments:
Post a Comment